System Users
System Users Overview
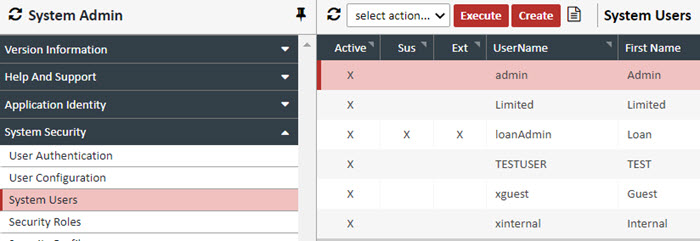
The System Users section displays a list of all users within the XDOC system.
- For customers with LOS (Loan Origination System) integrations, users are automatically created through the integration process.
- Additional users can be created manually, which is useful for:
- Testing purposes
- Internal projects
- Users not integrated with an LOS
Note: Manually created users will need to be configured with appropriate roles, permissions, and credentials.
Creating a User
To manually create a user in the XDOC system, follow these steps:
1. From the User Grid, click CREATE.
The User Editor window will appear.
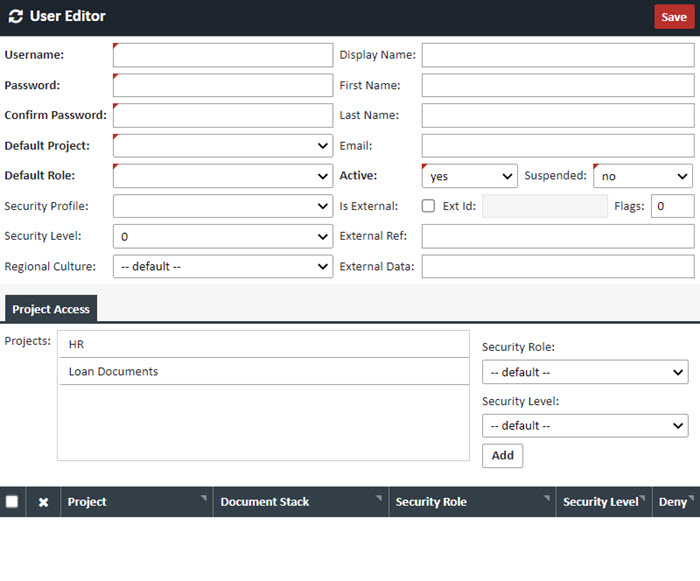
2. Complete the required fields in the User Editor.
Note: Required fields are indicated in bold.
| Field | Description |
|---|---|
| Username | Choose a unique username. This will be the username you log in with. |
| Password | Password for this user. |
| Confirm Password | Confirm the password for the user. |
| Default Project | The default Project for this user. This can either be set here or in the Project Access tab below. |
| Default Role | Choose the Role assigned to this Profile. |
| Security Profile | Security Profile assigned to this loan. |
| Security Level | This field is not used at this time. It is reserved for future use. |
| Regional Culture | Leave as either "default," or "en-US". |
| Display Name | The name displayed in XDOC while working in the application. |
| First Name | User's first name. |
| Last Name | User's last name. |
| User's email address. | |
| Active | For active users, will be set to "yes". |
| Suspended | You can suspend the account's XDOC access by setting this to "yes". |
| Is External | Checkbox to signify an external user integrated from an outside application. This will be set automatically by with your LOS integration. |
| External ID | The ID of the user, integrated from the external system. |
| Flags | Please do not modify this field. It is set by the LOS integration. |
| External Ref | Additional integration information from the LOS integration. |
| External Data | Additional integration information from the LOS integration. |
3. (Optional) In the Project Access tab:
- Under Project Security > Project, either:
- Double-click the "Loan Documents" project to move it to the active list, or
- Highlight the project, select a project from the dropdown, and click ADD

4. (Optional) Select a Security Role from the dropdown menu.
5. When all necessary information is entered, click SAVE to create the user.
6. If the UserName already is in use the following message will appear. A unique UserName will need to be created.

Copying a User
To copy a user, follow the steps below:
- Highlight the User to be copied from in the User Grid.
- From the User Grid, click Copy, then click Execute.
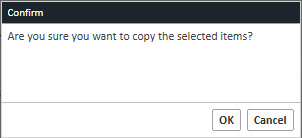
- When the confirmation message appears —
"Are you sure you want to copy the selected items?" — click OK.
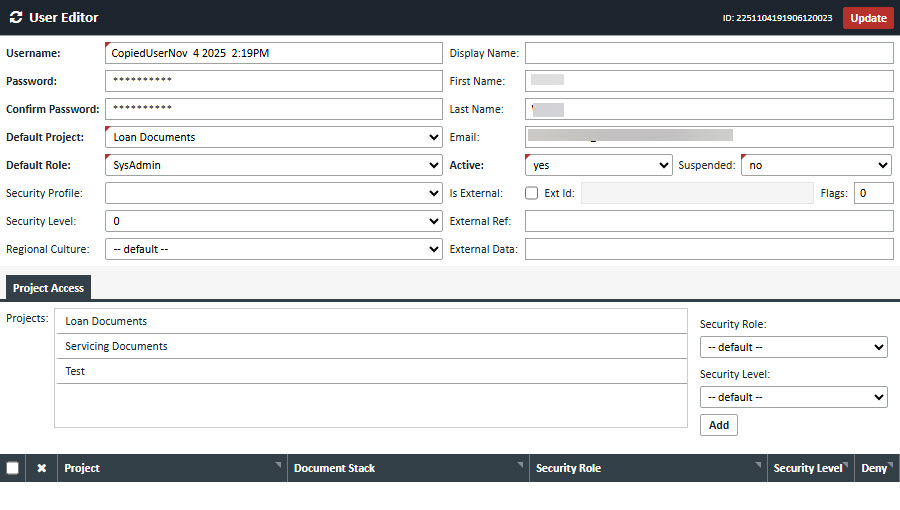
4. A new user will be created with the same username, appended by a date and time stamp in the following format:
UserNameMM DD H:MMAM/PM
(e.g., JohnDoeNov 4 2:19PM)
Note:
All fields in the User Editor will be duplicated exactly from the original user.
You must update the new user with the correct information and credentials before use.