Copying Documents - Loan to Loan
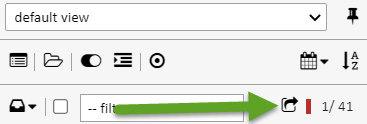
You can copy a list of documents from one loan to one or more loans with the Document Copy feature. You can also move documents to those loans instead of copying them. This list of documents to be copied/moved can come from a document stack or can be chosen individually. The icon for the document copy feature can be found on the document list toolbar, shown below.

Follow these instructions for copying/moving documents from one loan to another:
1. On the document list toolbar, click the document copy icon. You will see a dialog box pop up. 
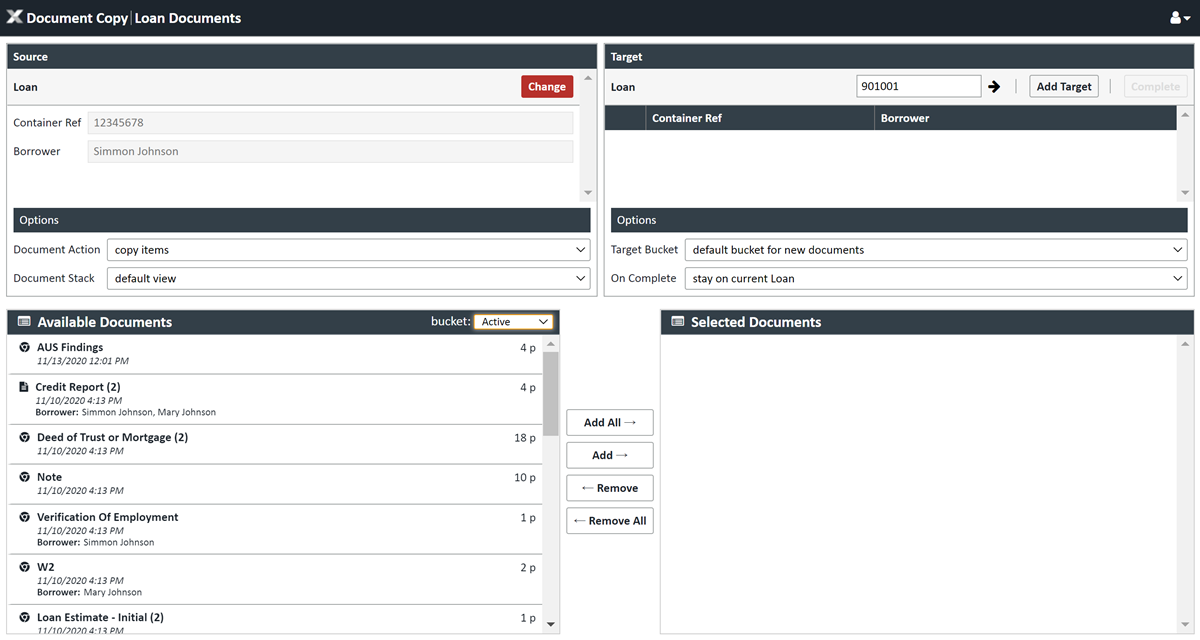
2. On the upper left hand side you will see the information for the originating loan. Go to the options section just below and enter the appropriate information.
3. Document Action - Choose whether you want to copy or move the documents
4. Choose your option for documents to copy/move
- Document Stack - You can choose a document stack from the Document Stack drop down. If choose a document stack, the list of matching documents will show below in the Available Documents section. By default, we show you the matching document in the Active bucket. You can see other matching documents in other buckets by choosing the other buckets from the bucket drop down.
- Move documents to the "Selected Documents" section that you want copied/moved by clicking the "Add All" button to move all of them, or the "Add" button to move them individually. Remove them by using the "Remove" and "Remove" all buttons.
- Move documents to the "Selected Documents" section that you want copied/moved by clicking the "Add All" button to move all of them, or the "Add" button to move them individually. Remove them by using the "Remove" and "Remove" all buttons.
- Individual Docs - You can also complete this action from the complete list of document in the loan. By default, we show you the matching document in the Active bucket. You can see other matching documents in other buckets by choosing the other buckets from the bucket drop down.
- Move documents to the "Selected Documents" section that you want copied/moved by clicking the "Add All" button to move all of them, or the "Add" button to move them individually. Remove them by using the "Remove" and "Remove" all buttons.
5. Select your target loan(s) - You can select one or more loans as your destination here and there are two ways to do it.
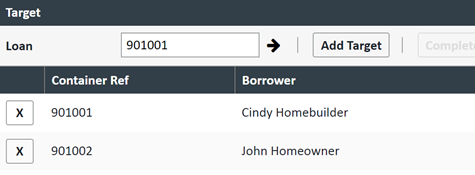
- If you know the loan number, you can enter it in the loan number field and click the arrow to the right. This will add it to the target loans below. Do this for each loan where you want documents copied/moved.


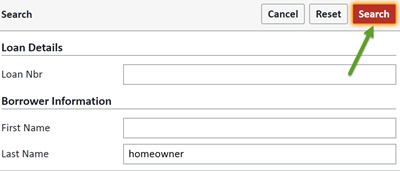
- You can also click the Add Target button which will open up a search screen to
- Enter the loan number or part of the name you want to search on and click SEARCH

- Enter the loan number or part of the name you want to search on and click SEARCH
- When you get the results of the search, double click on the loan. This will add it to the list of loan targets

6. When you're done with the list of targets, choose your selections from the Options section
- Target Bucket - Choose the bucket where the target loan documents will be placed
- On Complete - Choose what XDOC will do after you click the COMPLETE button. Your choices are:
- Stay on the current loan
- Open the first target loan in a new tab
- Open the first target loan in a new window
- Stay on the current loan
7. Click COMPLETE and your document will be copied/moved
